POSTS
Adopting a lean web app server infrastructure based on nginx (part 2/3)
##Enjoy the mechanical sympathy of nginx? For me, the most important aspect for selecting nginx (pronounce Engine-X) is the fact that it basically uses an event-driven architecture for handling request in an asynchronous matter, much like nodeJs is working. In other words, it doesn’t rely on threads to handle requests. Since we’ll jump soon on the nodeJs bandwagon, you’ll start to like this type of mechanical sympathy. All this makes nginx very lightweight and super fast. Furthermore, nginx has a significant market share next to Apache and IIS.
##Install git and nodeJs on Ubuntu Ubuntu uses the APT package manager. Let’s start with Git:
and then NodeJs: Update march 2015: there can be occasions where you want to follow this approach for installing nodeJs.
we’ll need also npm, the node package manager:
On Ubuntu (and Debian in general), the name of the Node.js interpreter is changed to NodeJS (instead of Node). It’s best to change this back to node by creating a symlink, this can be done by installing following package:
A more experienced linux user will install them all with a one liner:
##Install nginx
##Check if the server is working
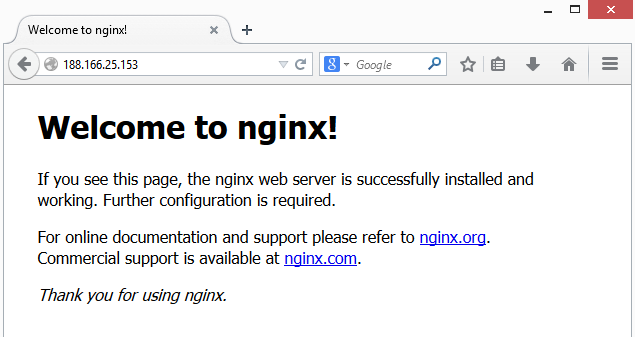 Obviously, you can configure your DNS in such a way the IP address points to www.MySite.com.
We’ll need to do this anyway in later examples where we create a static site in a sub domain.
Bottomline so far is that installing a web server software on Ubuntu is really a piece of cake and a matter of 30 seconds. That’s the way we want it.
Obviously, you can configure your DNS in such a way the IP address points to www.MySite.com.
We’ll need to do this anyway in later examples where we create a static site in a sub domain.
Bottomline so far is that installing a web server software on Ubuntu is really a piece of cake and a matter of 30 seconds. That’s the way we want it.
##Show me now a nice UI for configuring Nginx In case you are expecting now to be able to use a fancy graphical user interface for configuring everything, I need to disappoint you. Nginx (and yeah, everything else in linux) needs to be configured via config files from the command prompt. That’s really a huge difference with the windows world where a lot of energy is spent for building good looking interfaces. Anyhow something like IIS stores it’s information that is entered via the UI also in xml config files, which you only need if you messed things completely up in the UI interface. In that scenario, you can pray and hope that you understand everything what you are doing. In the linux world you need that knowledge from day 1, that’s the difference, but you are in case of trouble better prepared. On the other hand, what is important is the amount of lines that need to be ‘written’ for configuring an additional site/application. Finaly, these types of config files let themselves integrate elegantly in an auomated software factory approach.
##Let’s get some basic understanding of the nginx configuration files Let’s inspect the base configuration file of nginx located in /etc/nginx/nginx.conf by typing:
This will give us following content:
The file is quite long, but that’s because it contains a lot of examples (commented out). What we learn here is that:
- sites will run under a specific user named : www-data. That will be important when configuring permissions.
- there are access and error logs in /var/log/nginx/access.log en error.log. It’s great that we can find all loggings in a central place /var/log/…
- right now, the most important lines in this config file are at the end of the http block: include /etc/nginx/conf.d/.conf; include /etc/nginx/sites-enabled/;
The meaning of the include statements is quite obvious: all config files in these 2 folders will be incorporated in the master config file. That gives a very simple and elegant way to configure a whole server. So far, I don’t see only a need for using the sites-enabled folder. But you need to use it in combination with the sites-available folder on the same level as the sites-enabled folder.
##What’s the difference between the folder sites-enabled and sites-available?
When you do:
you will notice there is also a sites-available folder.
The whole idea of these folders is to be able
- to make a configuration of a site but not activate it yet or;
- to temporary disable a site.
How does this work? Type:
Nothing special so far, the folder contains a regular file called default, our default config file.
Do now the same for the sites-enabled folder:
You can see that the default file has here a special ‘l’ attribute, which stand for link. This file is a symbolic link to the path indicated at the end of the line. In windows terminology: it’s a shortcut ! So, the whole idea is that the folder sites-available contains the real files and a link inside the sites-enabled folder is constructed via following command:
##Conclusion In my humble opinion: simple and straight-forward. In a next episode, we’ll see how to create static sites in sub domains and sub folders.